
Tower Hobbies Sport – Seriously Good Deal

The Tower Hobbies Sport EP ARF is a 60″ wingspan low wing sport airplane Tower characterizes as a “kick back” plane. I think Tower hit the nail on the head with that description because in the air that’s exactly how it flies. This article is about the build though, so if you’re interested in this plane, enjoy the read. If you want to see it fly, here is the maiden flight on YouTube.
Botton Line Up Front (BLUF)
The Tower Hobbies Sport build process is similar to every other standard ARF with a few enhancements that make assembly a breeze. Before I get into the build details, I’ll point out the Sport is frequently on sale at Tower Hobbies for less than $90. With their regularly posted coupon codes, super saver club discounts, e-cash, and gift certificates they frequently offer with other product purchases, it is possible to get this plane for less than $80 shipped. Considering you get a well designed and well built 60″ ARF with a complete hardware package, the value equation for this airplane is quite high.
For comparison purposes, I also just bought/built the Top Flight Mini Contender. Even though I bought that plane on sale, the little 36″ ARF cost me about $15 more than the 60″ Sport. Tower has a great formula on their balsa ARFs. I hope they keep these great deals coming. Ok, onto the build…
Nice Touches
All control surface hinges are pre-installed. Empennage iron on covering is removed at the glue points. The horizontal stabilizer is slotted to accept to the vertical stabilizer making tail feather assembly a piece of cake. The airfoil saddles were all perfectly square and aligned meaning all airfoils installed parallel where they need to be parallel, and perpendicular where they need to be perpendicular. I don’t want to understate how important this is for a straight flying airplane. So bottom line: This plane goes together as well or better than any other plane I’ve assembled aside from a couple of minor gripes I detail below.
As-Built Electronics Configuration
- Value Hobby G32 Brushless Motor
- APC 11×7 Sport Prop (11×5.5 is on order and will prop down when it arrives)
- Hobbywing 80a Brushless ESC
- Turnigy 4000mah 5s 25-30c LiPo
- This combo produces 1000watts. 750watts with a 10×6 prop.
- 4 Standard Servos. EMAX ES3001 Analog for this build.
- FRSKY X4R Rx
The Watt Meter video linked below shows the power I made on the G32 brushless motor. 55amps is just a little bit too high as the spec calls for 50a max; however, the next smallest prop I have on hand is a 10×6 which made too little power at ~750watts. So I ordered an 11×5.5 and I think that’ll do very nicely for this plane and motor.
Pre-Build Score – 4.5/5
This plane required a little bit of work on the shrink covering and the wing servo openings. There were no other repairs/adjustments required before starting the assembly.
The Wing Servo Problem

The book says the plane supports mini or standard size servos. The opening is for mini servos and the opening can be enlarged to accept a standard servo. Unfortunately Tower still sells servos for $20, so I buy servos elsewhere for much less. I usually look at the specs of the servo Tower recommends and find a comparable alternative. In this case, I used a 25oz-in Mini Servo from Turnigy and of course it didn’t fit. The smaller Turnigy servo on the bottom is too small fore and aft to be screwed into the opening. Fortunately, I had 4 standard size servos, so I enlarged the opening and used standard servos for the ailerons.
Iron-on Covering
Take a look at the Sport Unbox video below to get an idea of how much work the iron-on covering is going to take. Overall it’s not a big deal, and it doesn’t take that much time. My frustration with these loose applications of shrink covering are that companies like Phoenix Model can deliver ARFs with nearly flawless applications while Great Planes, Top Flite, and Tower planes frequently need work. So, not a big deal in the grand scheme of things, just be aware, you’ll probably need to do some work on the covering.
Ease of Build – 5/5 – You will not find an easier Balsa ARF assembly than the Tower Hobbies Sport.
Tower puts extra effort into making the Sport easy to build from removing shrink covering over glue joints to pre-hinging the control surfaces, the tedious tasks are taken care of out of the box allowing you to get right to the fun stuff–putting big parts together.
Brushless Motor Mount
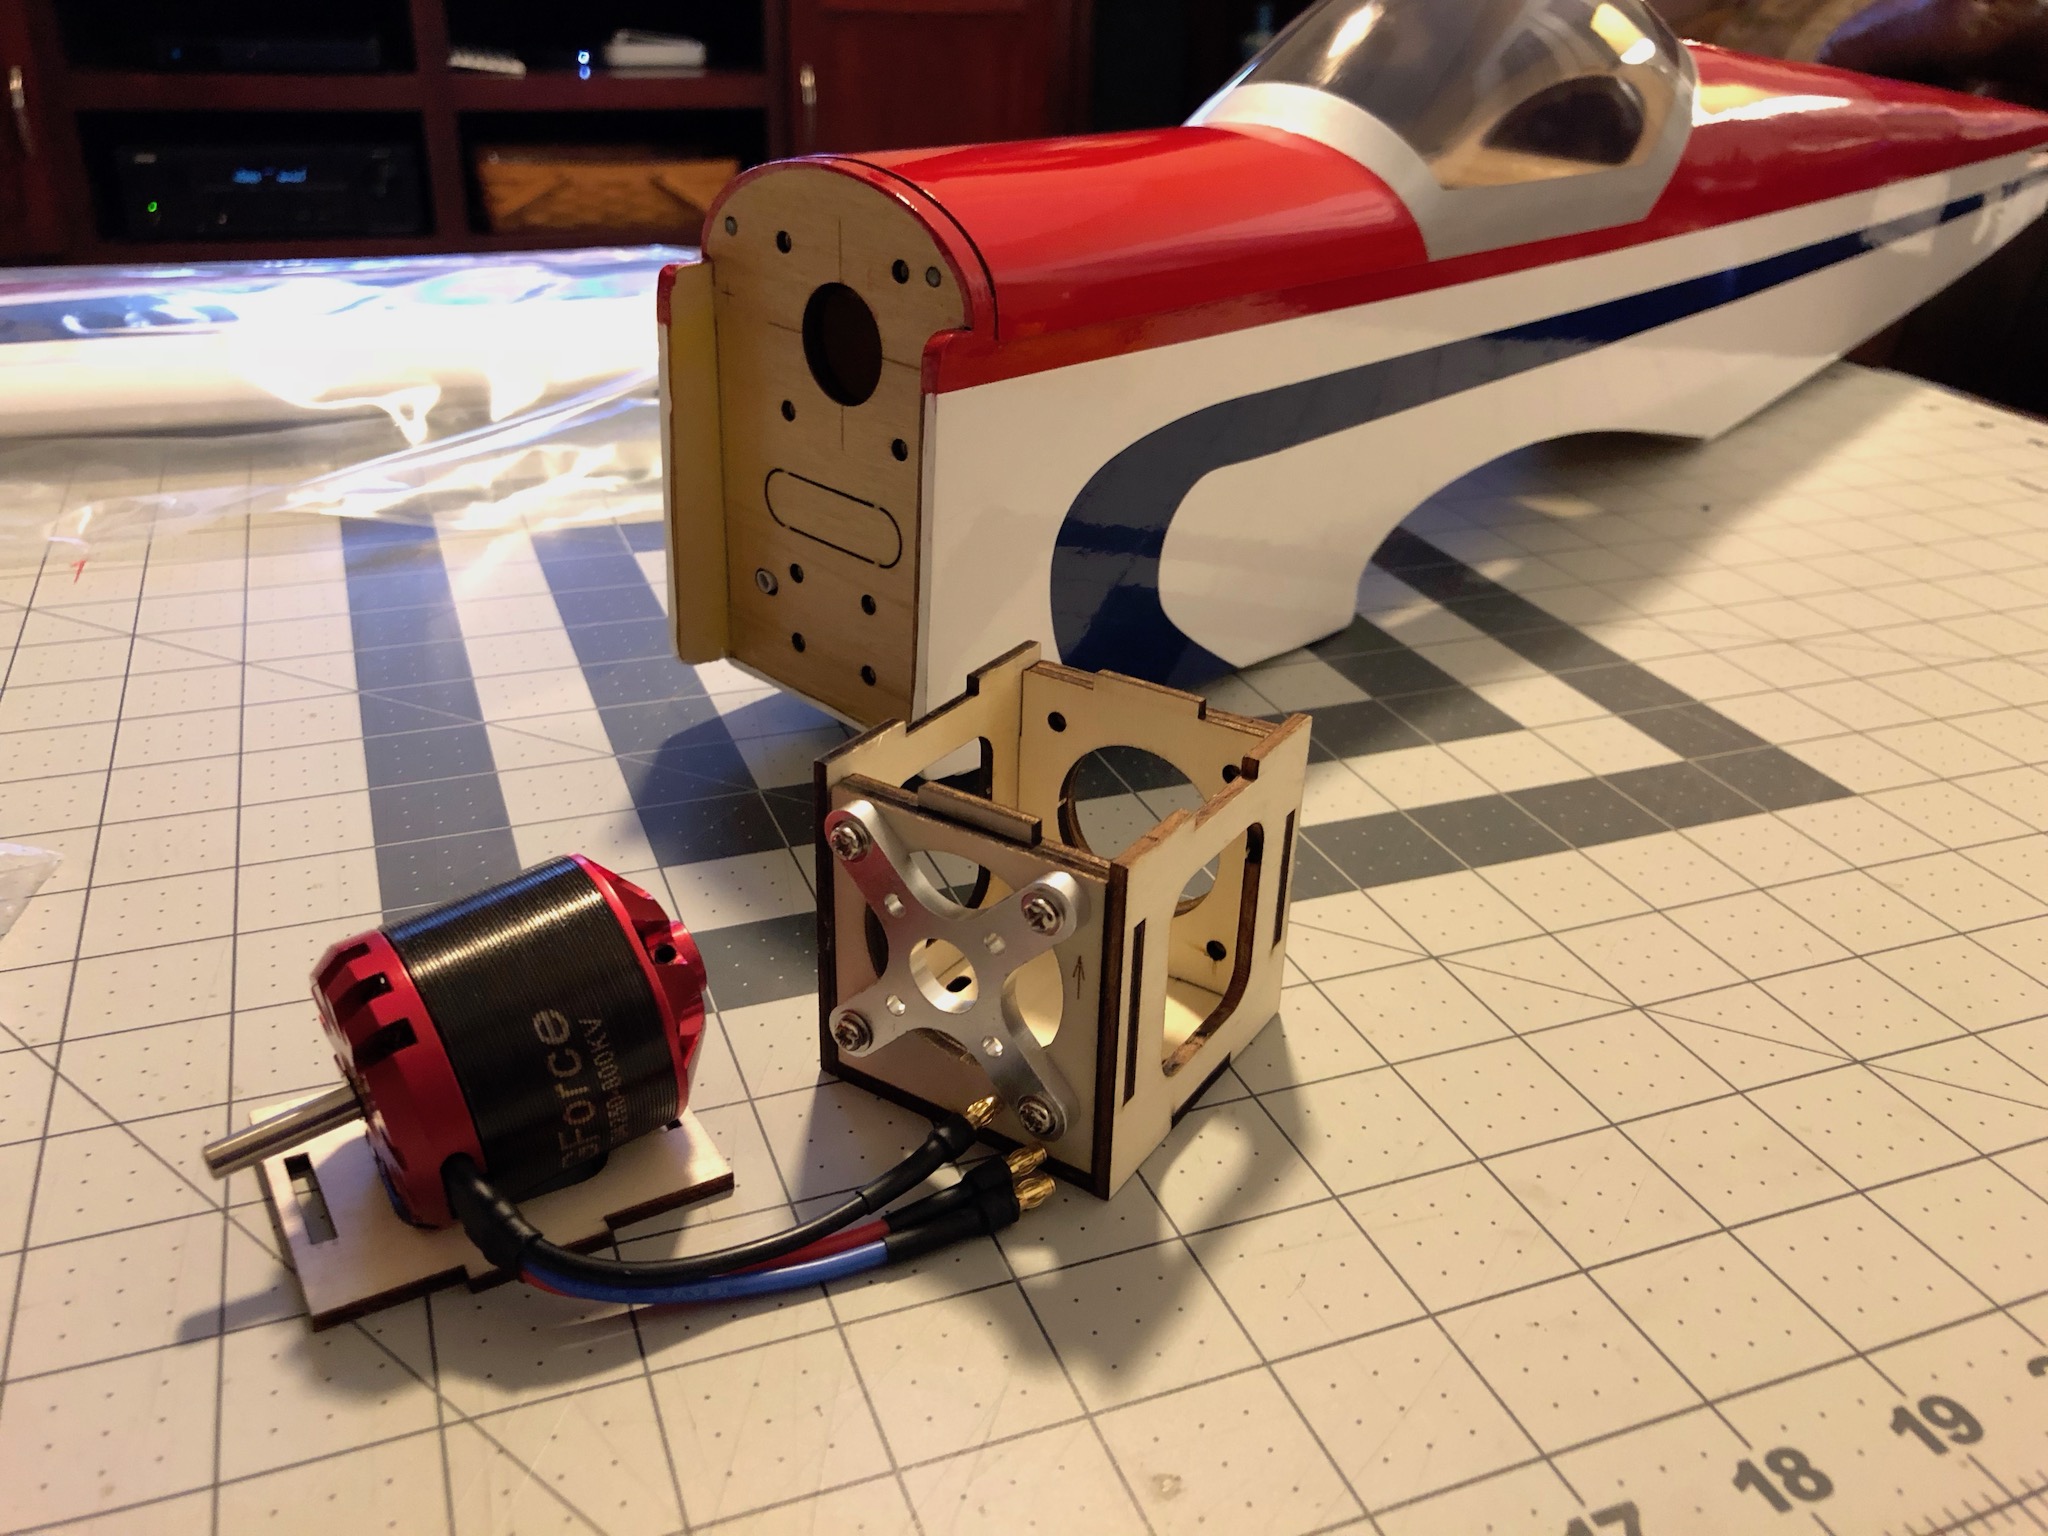
Since I didn’t use the recommended Rimfire motor, and I know Tower tends to have firewalls/motor mounts drilled for Rimfire motor bolt patterns I wanted to find out right away if I would have to perform surgery on the firewall to fit the Value Hobby G32. Fortunately, the X-mount for the G32 bolted right up. I started each of the X-mount screws, then snugged them tight.

I took this picture to show the angle your driver is forced to use when mounting the motor box to the airframe firewall. The motor box firewall has about a 2″ diameter hole leaving plenty of space for the brushless motor shaft and enough space to get your screwdriver in to reach the mounting screws, but the driver cannot reach the screws at a perpendicular angle due to the front firewall. Just be careful to avoid cross threading the screws or blind nuts.
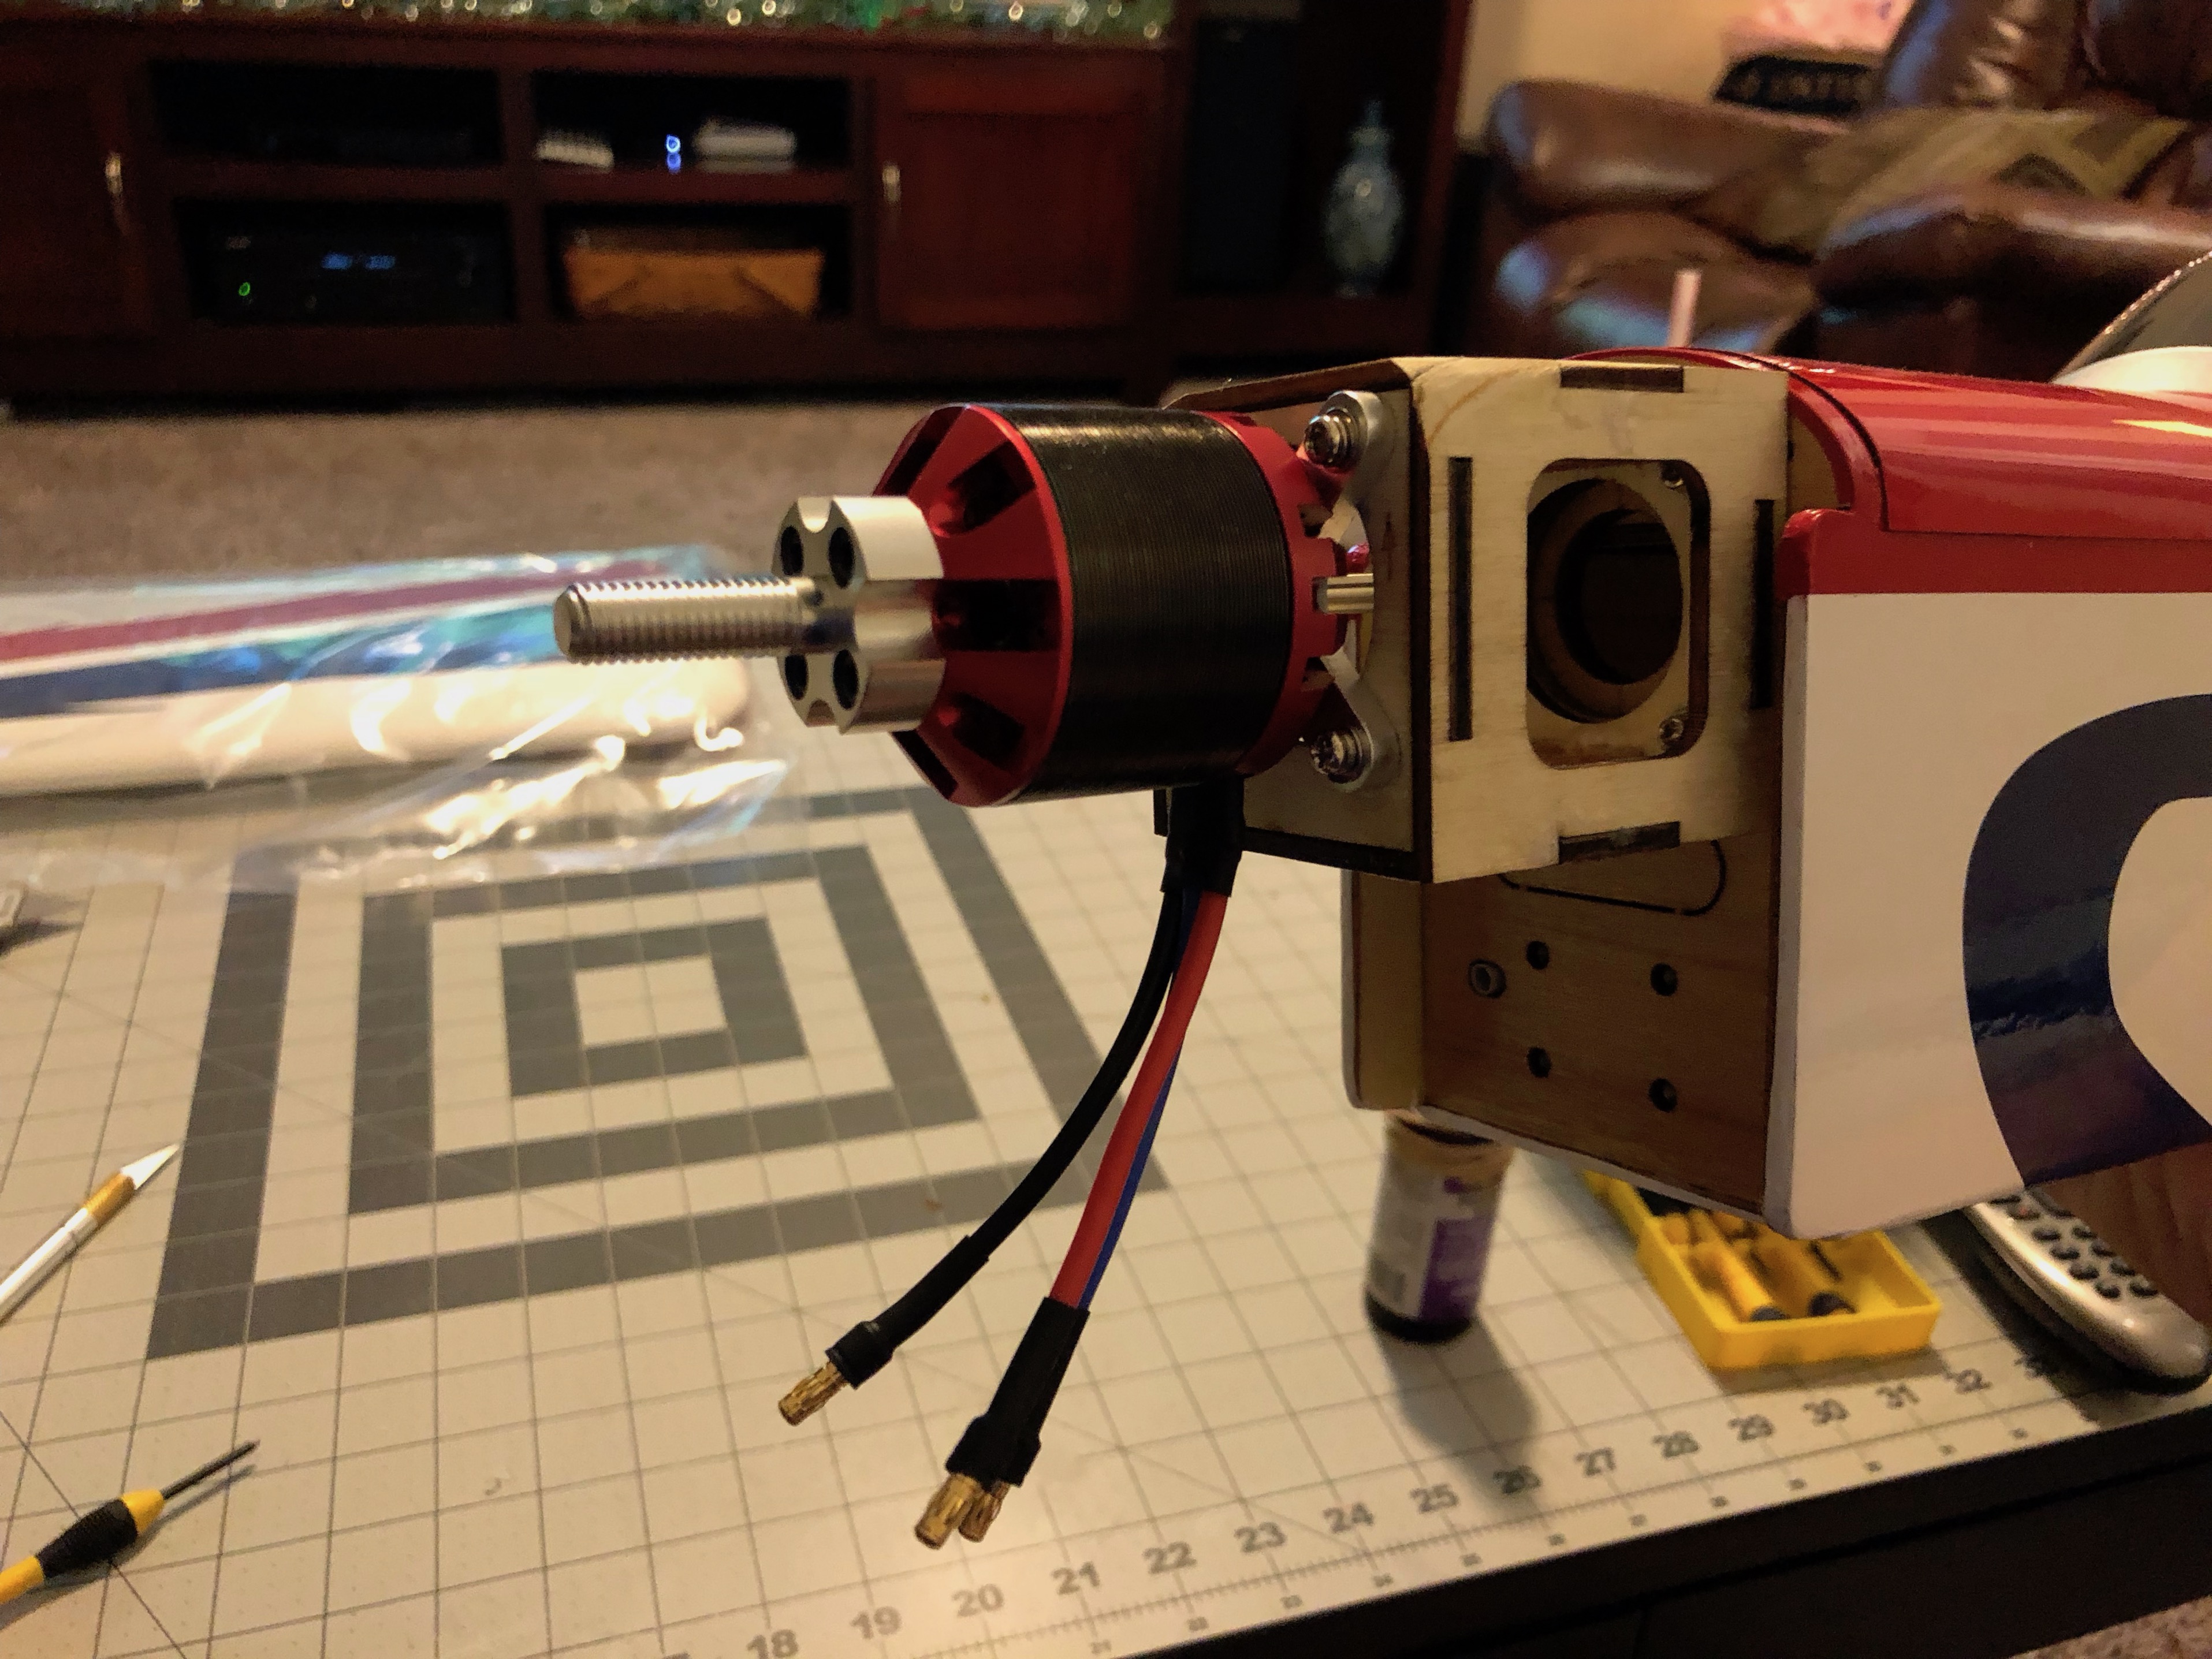
The G32 brushless motor mounted to the plane. Note the rounded top corners on the motor box required to fit the cowl. The G32 is a 4250 800kv motor and fits the Sport perfectly.
Thoughts on Brushless Motor Selection
If you’re wondering why I don’t just buy the recommended Rimfire motor, it’s because I believe they’re overpriced. Don’t get me wrong, I like them. They look, feel, and sound like quality equipment; however, they’re normally somewhere around $100. The G32 from Value Hobby basically has the same specs for 1/3rd the price. I decided I needed to know how well the G32 stacked up against the Rimfire. Regarding power development, here’s the answer:
Now, I still need to fly the plane with this motor for a while to see how it stands the test of time. The Rimfire motors I have in my hangar work every time, they’re whisper quiet, and I know I can trust them. Will the G32 prove as reliable? I guess only time will tell, so stay tuned.
Landing Gear
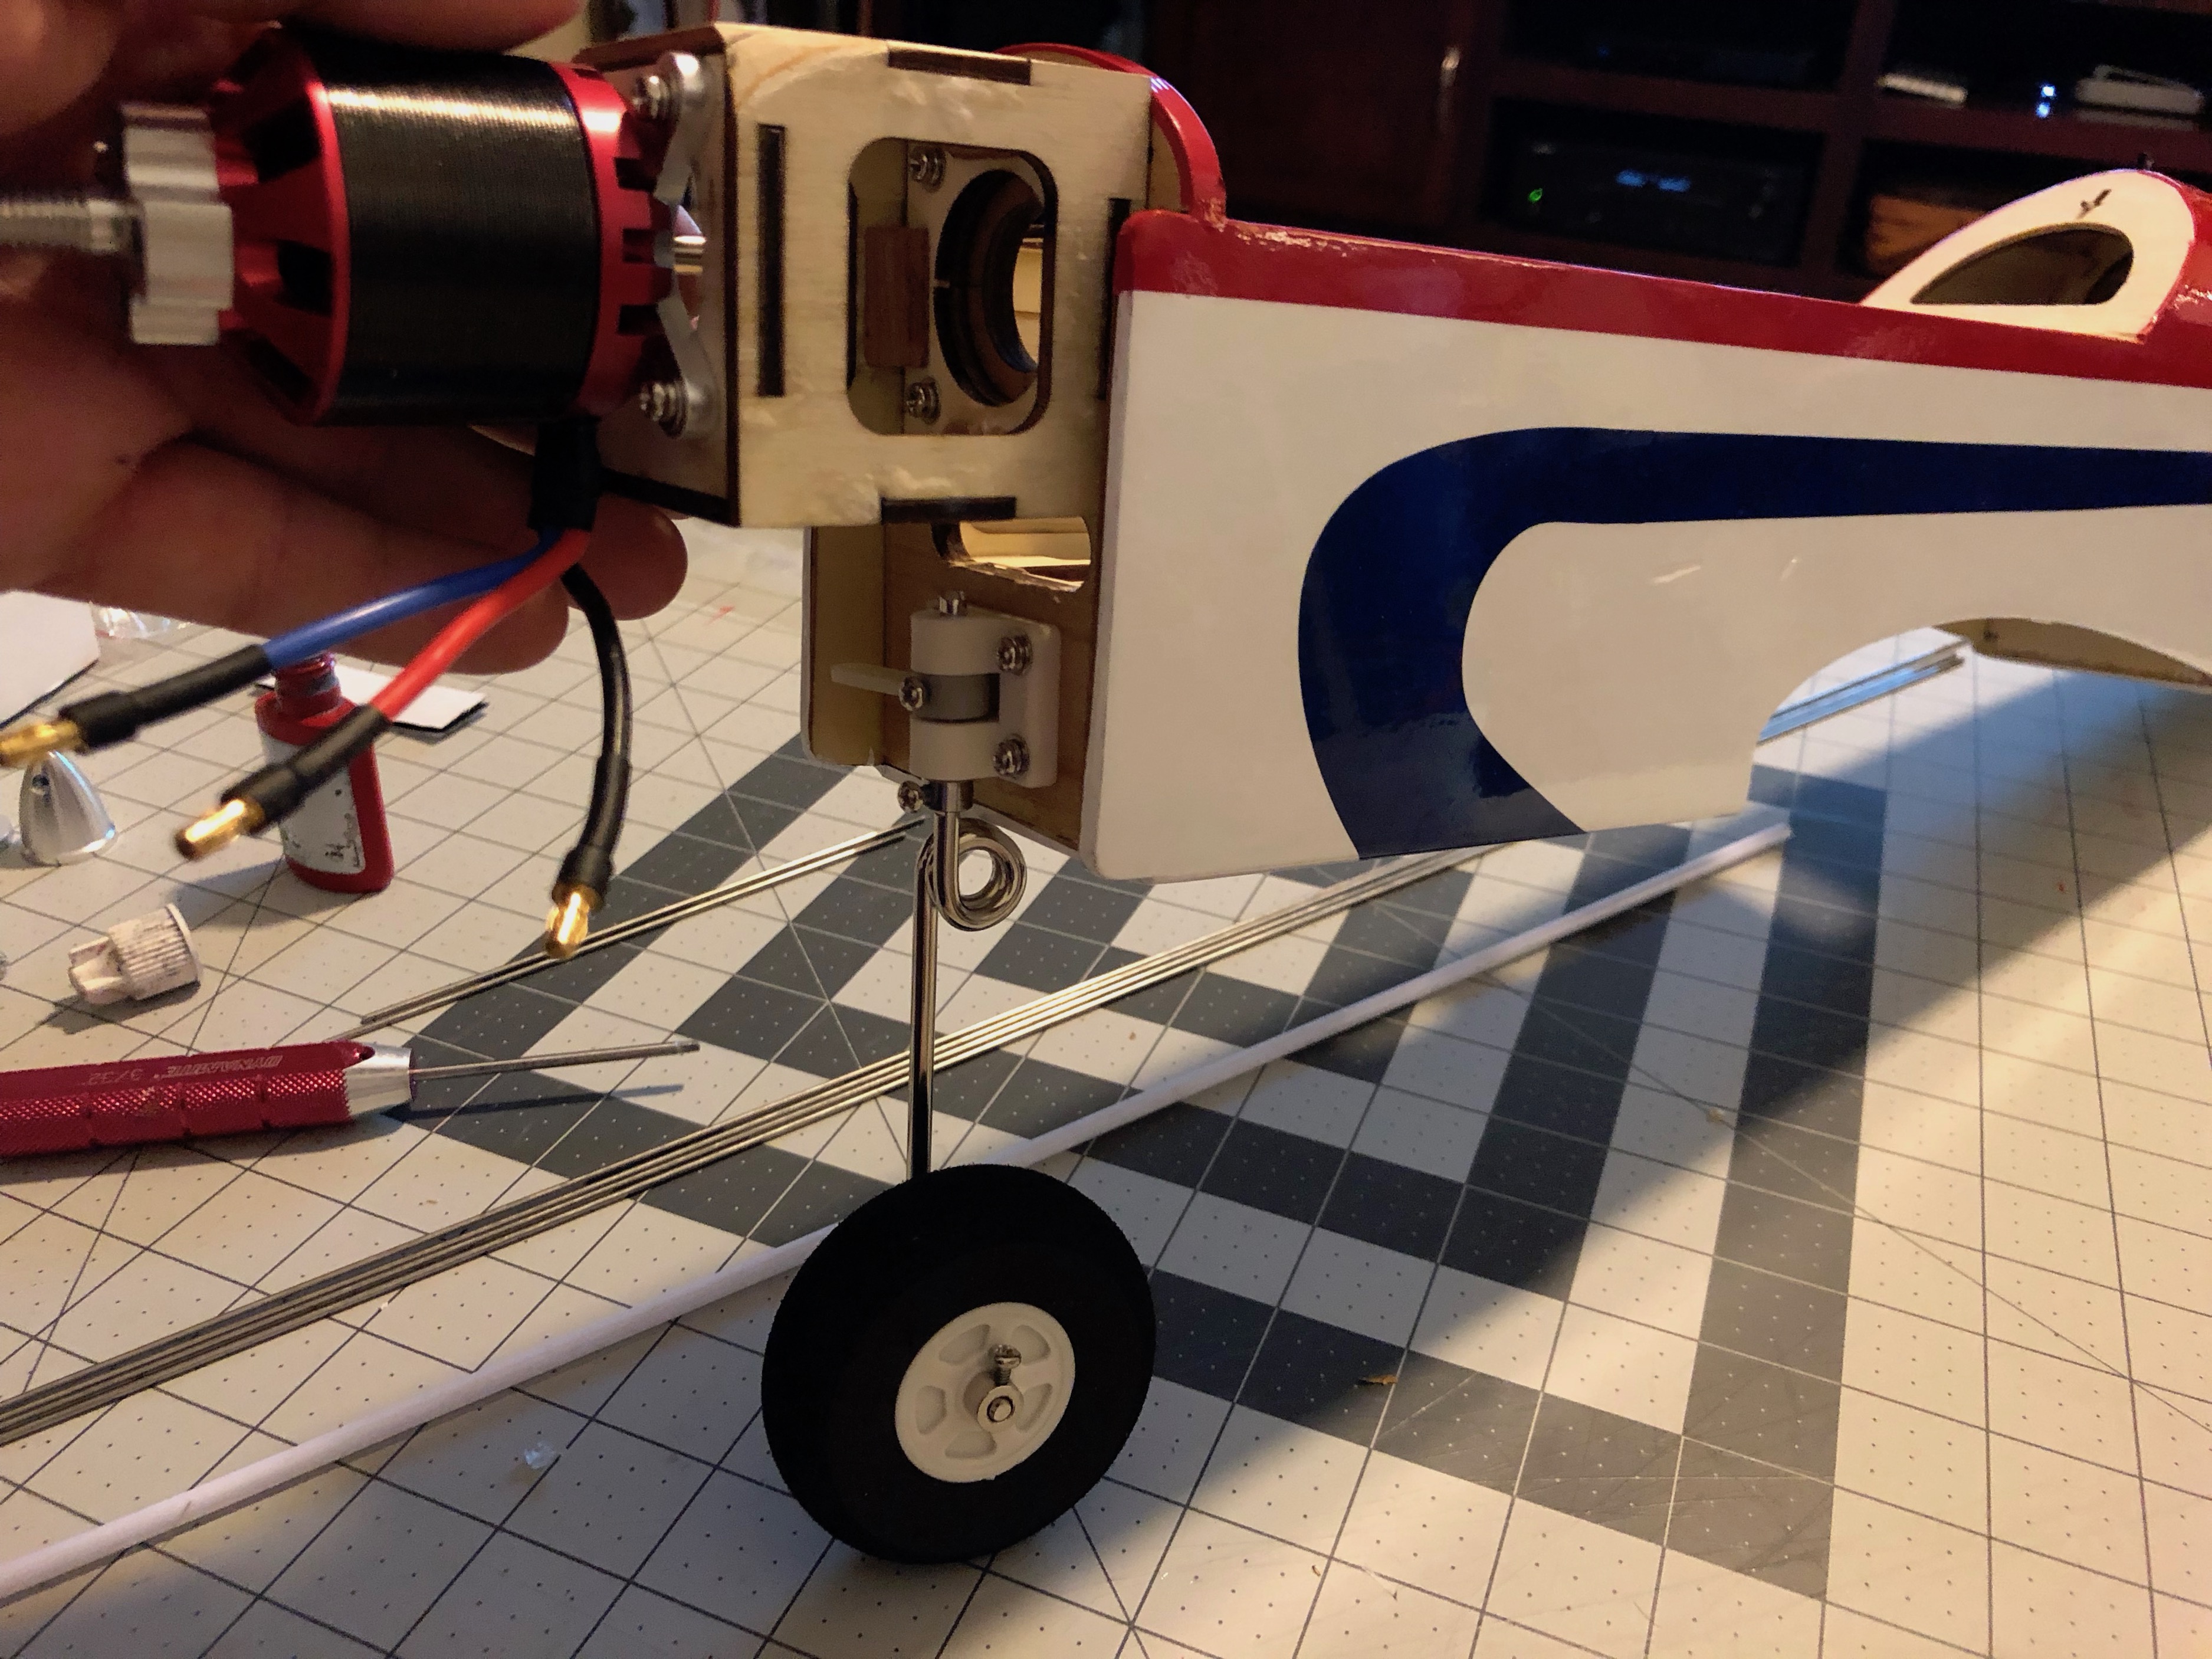
The landing gear on the Sport is stout. The nose wheel mechanism is straightforward to install. You will need to open a slot in the cowl to accept the nose wheel strut. Make sure to use thread locker on the steering arm lock screw and the wheel collars.
Cowl Modifications

The cowl does not have an airflow opening from the factory. If you run an electric setup, don’t make the mistake of installing the cowl as-is. A little bit of masking tape and a narrow sanding drum on a rotary tool (dremel) make short work of creating an opening to let your electronics breathe.
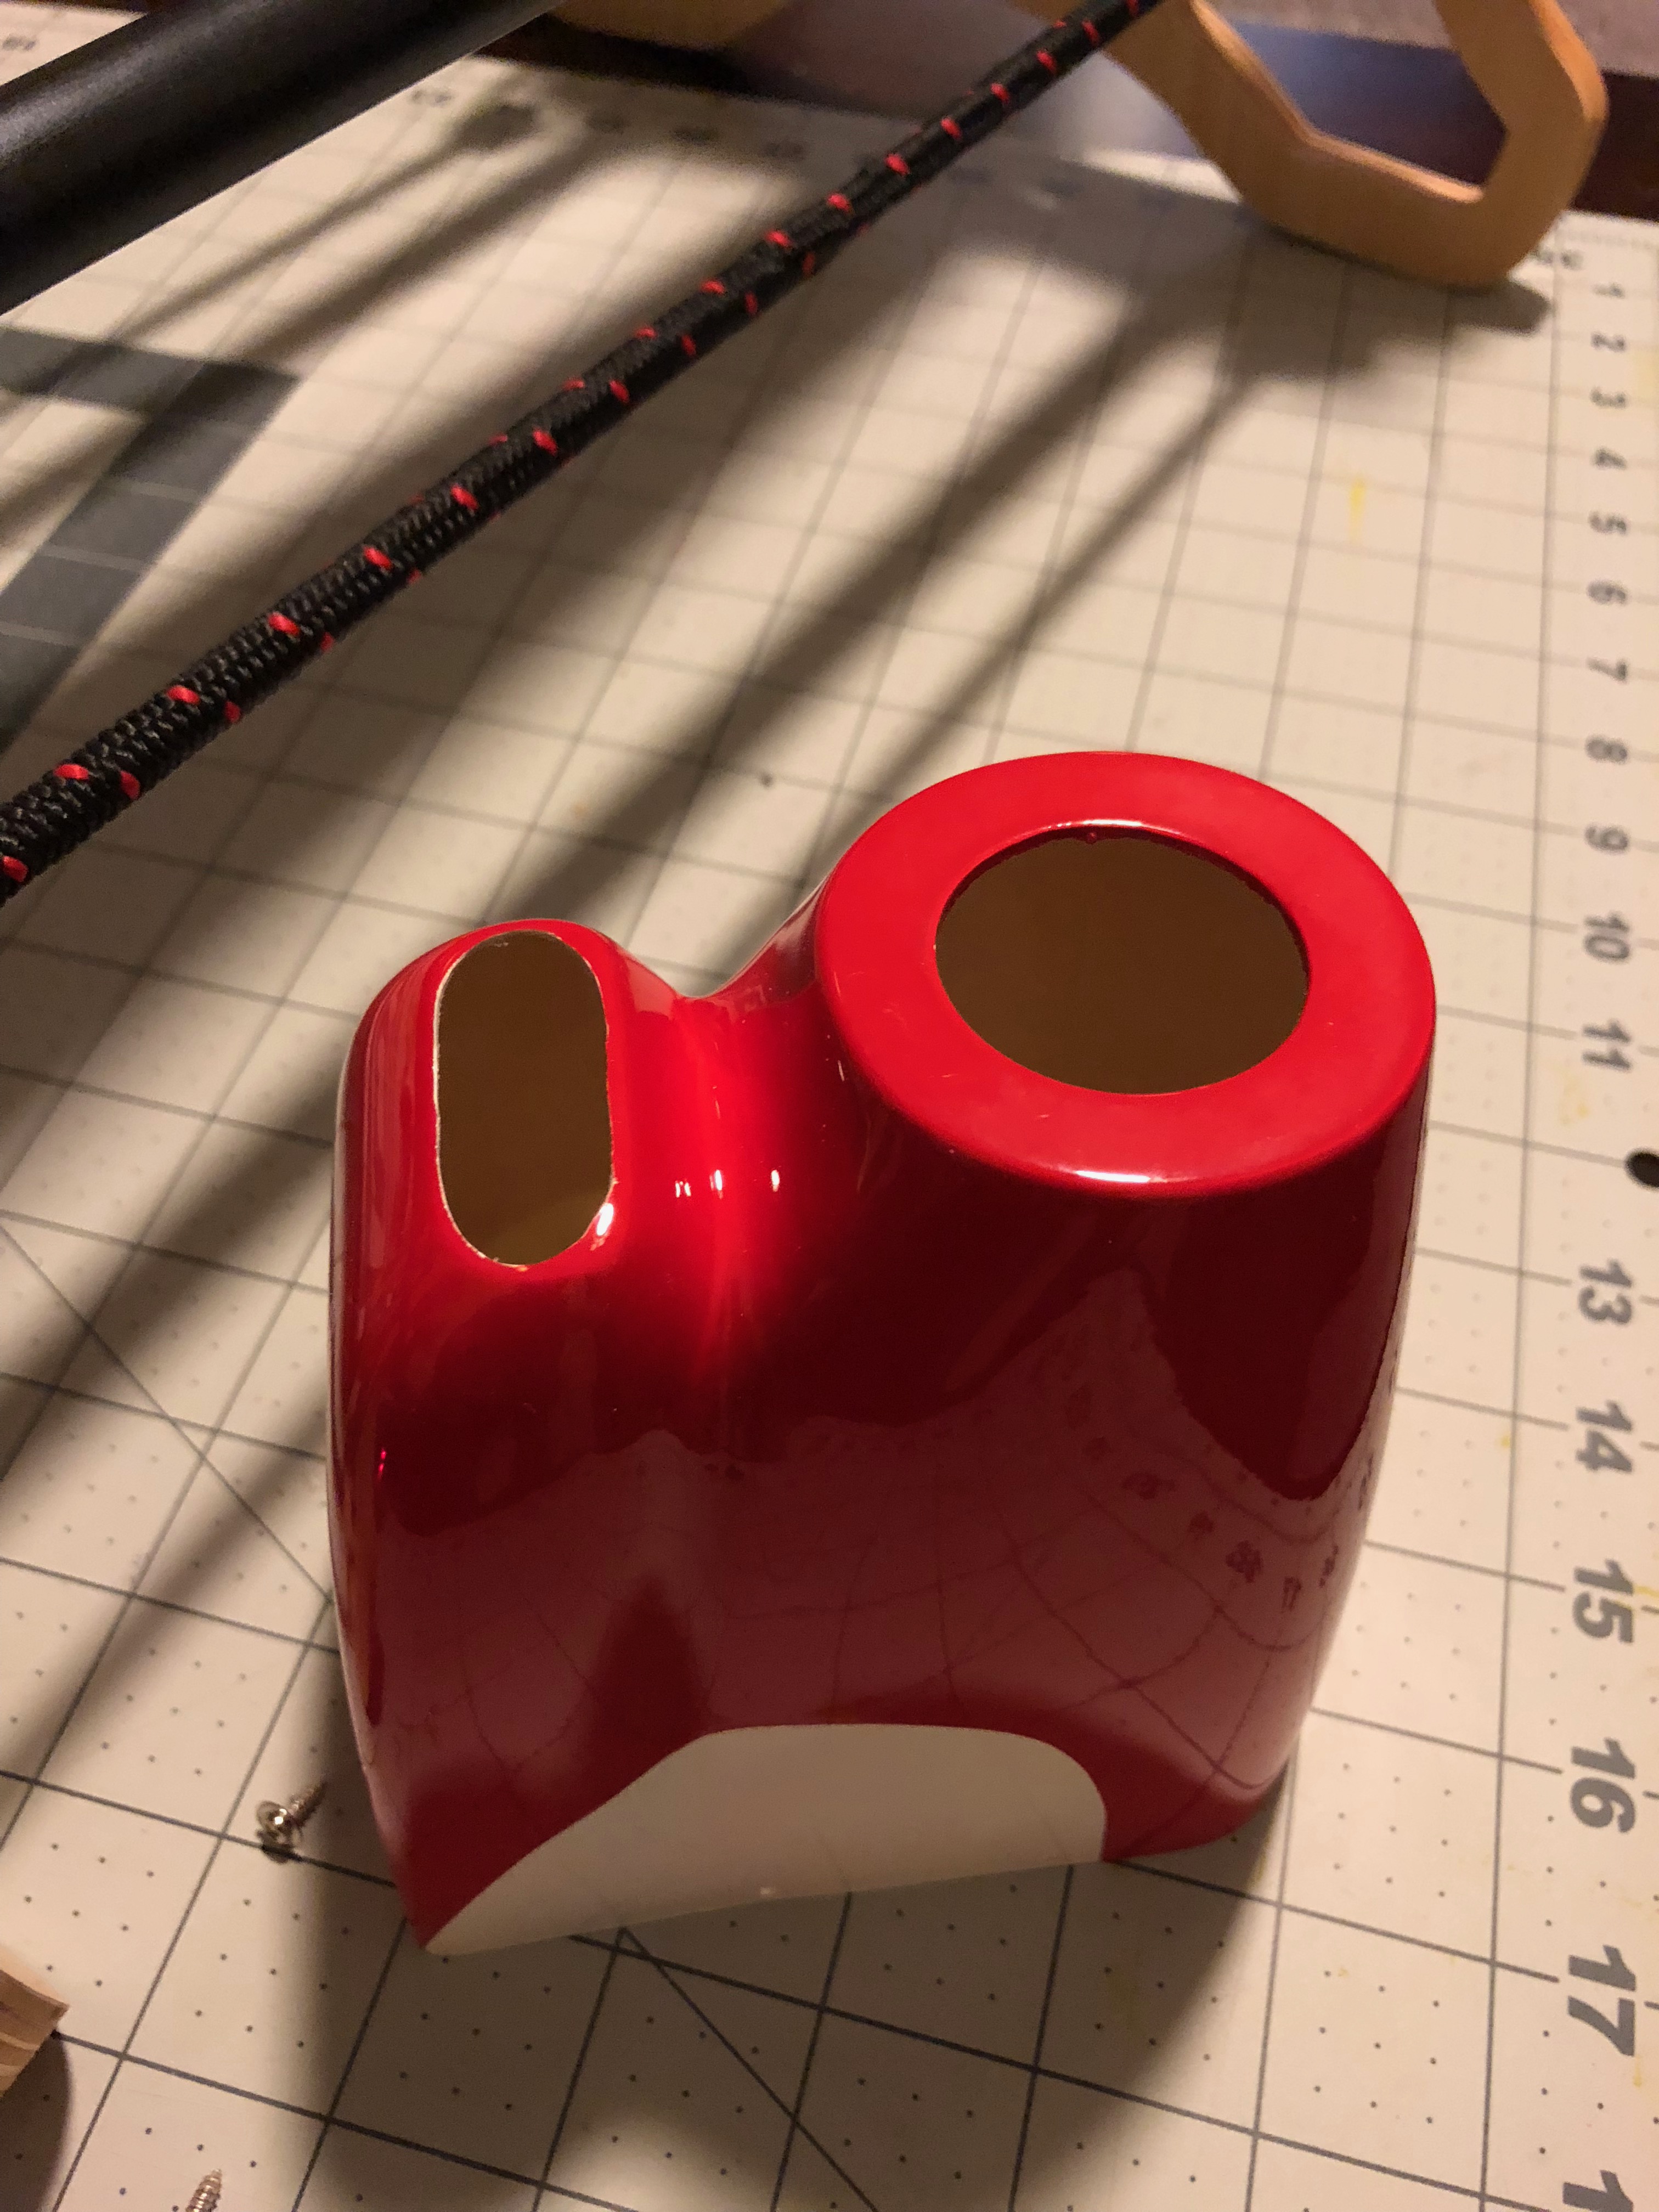
This hole will let the air flow over the ESC and battery to keep things cool inside the plane. I don’t understand why manufacturers cannot make molds with airflow holes designed in. Personal experience tells me it’s a bad idea to fly electric planes–especially larger planes with larger electronics–without ventilation. They obviously understand the concept of ventilation because the belly of the plane has ventilation slots and the instructions tell the builder to remove shrink covering from over the slots if using electric power. So why can’t the cowl come with ventilation up front? Ok, moving on…
The Wing and Everything Else
I don’t see much point going on about assembling the wing, control horns, or pushrods since all are standard fare for this type of plane. The wing spar is about a 1″x5″ piece of hardwood with slight dihedral. There is an alignment pin to keep the trailing edges aligned. If you’re reading this far, you already know the drill on this. Epoxy the spar in one wing half, spread epoxy on the exposed spar and inward ribs, slide wing halves together, and clamp until dry.
There is nothing notable about any other part of the build. Typical control horn, pushrod, and electronics installation.
Perspective
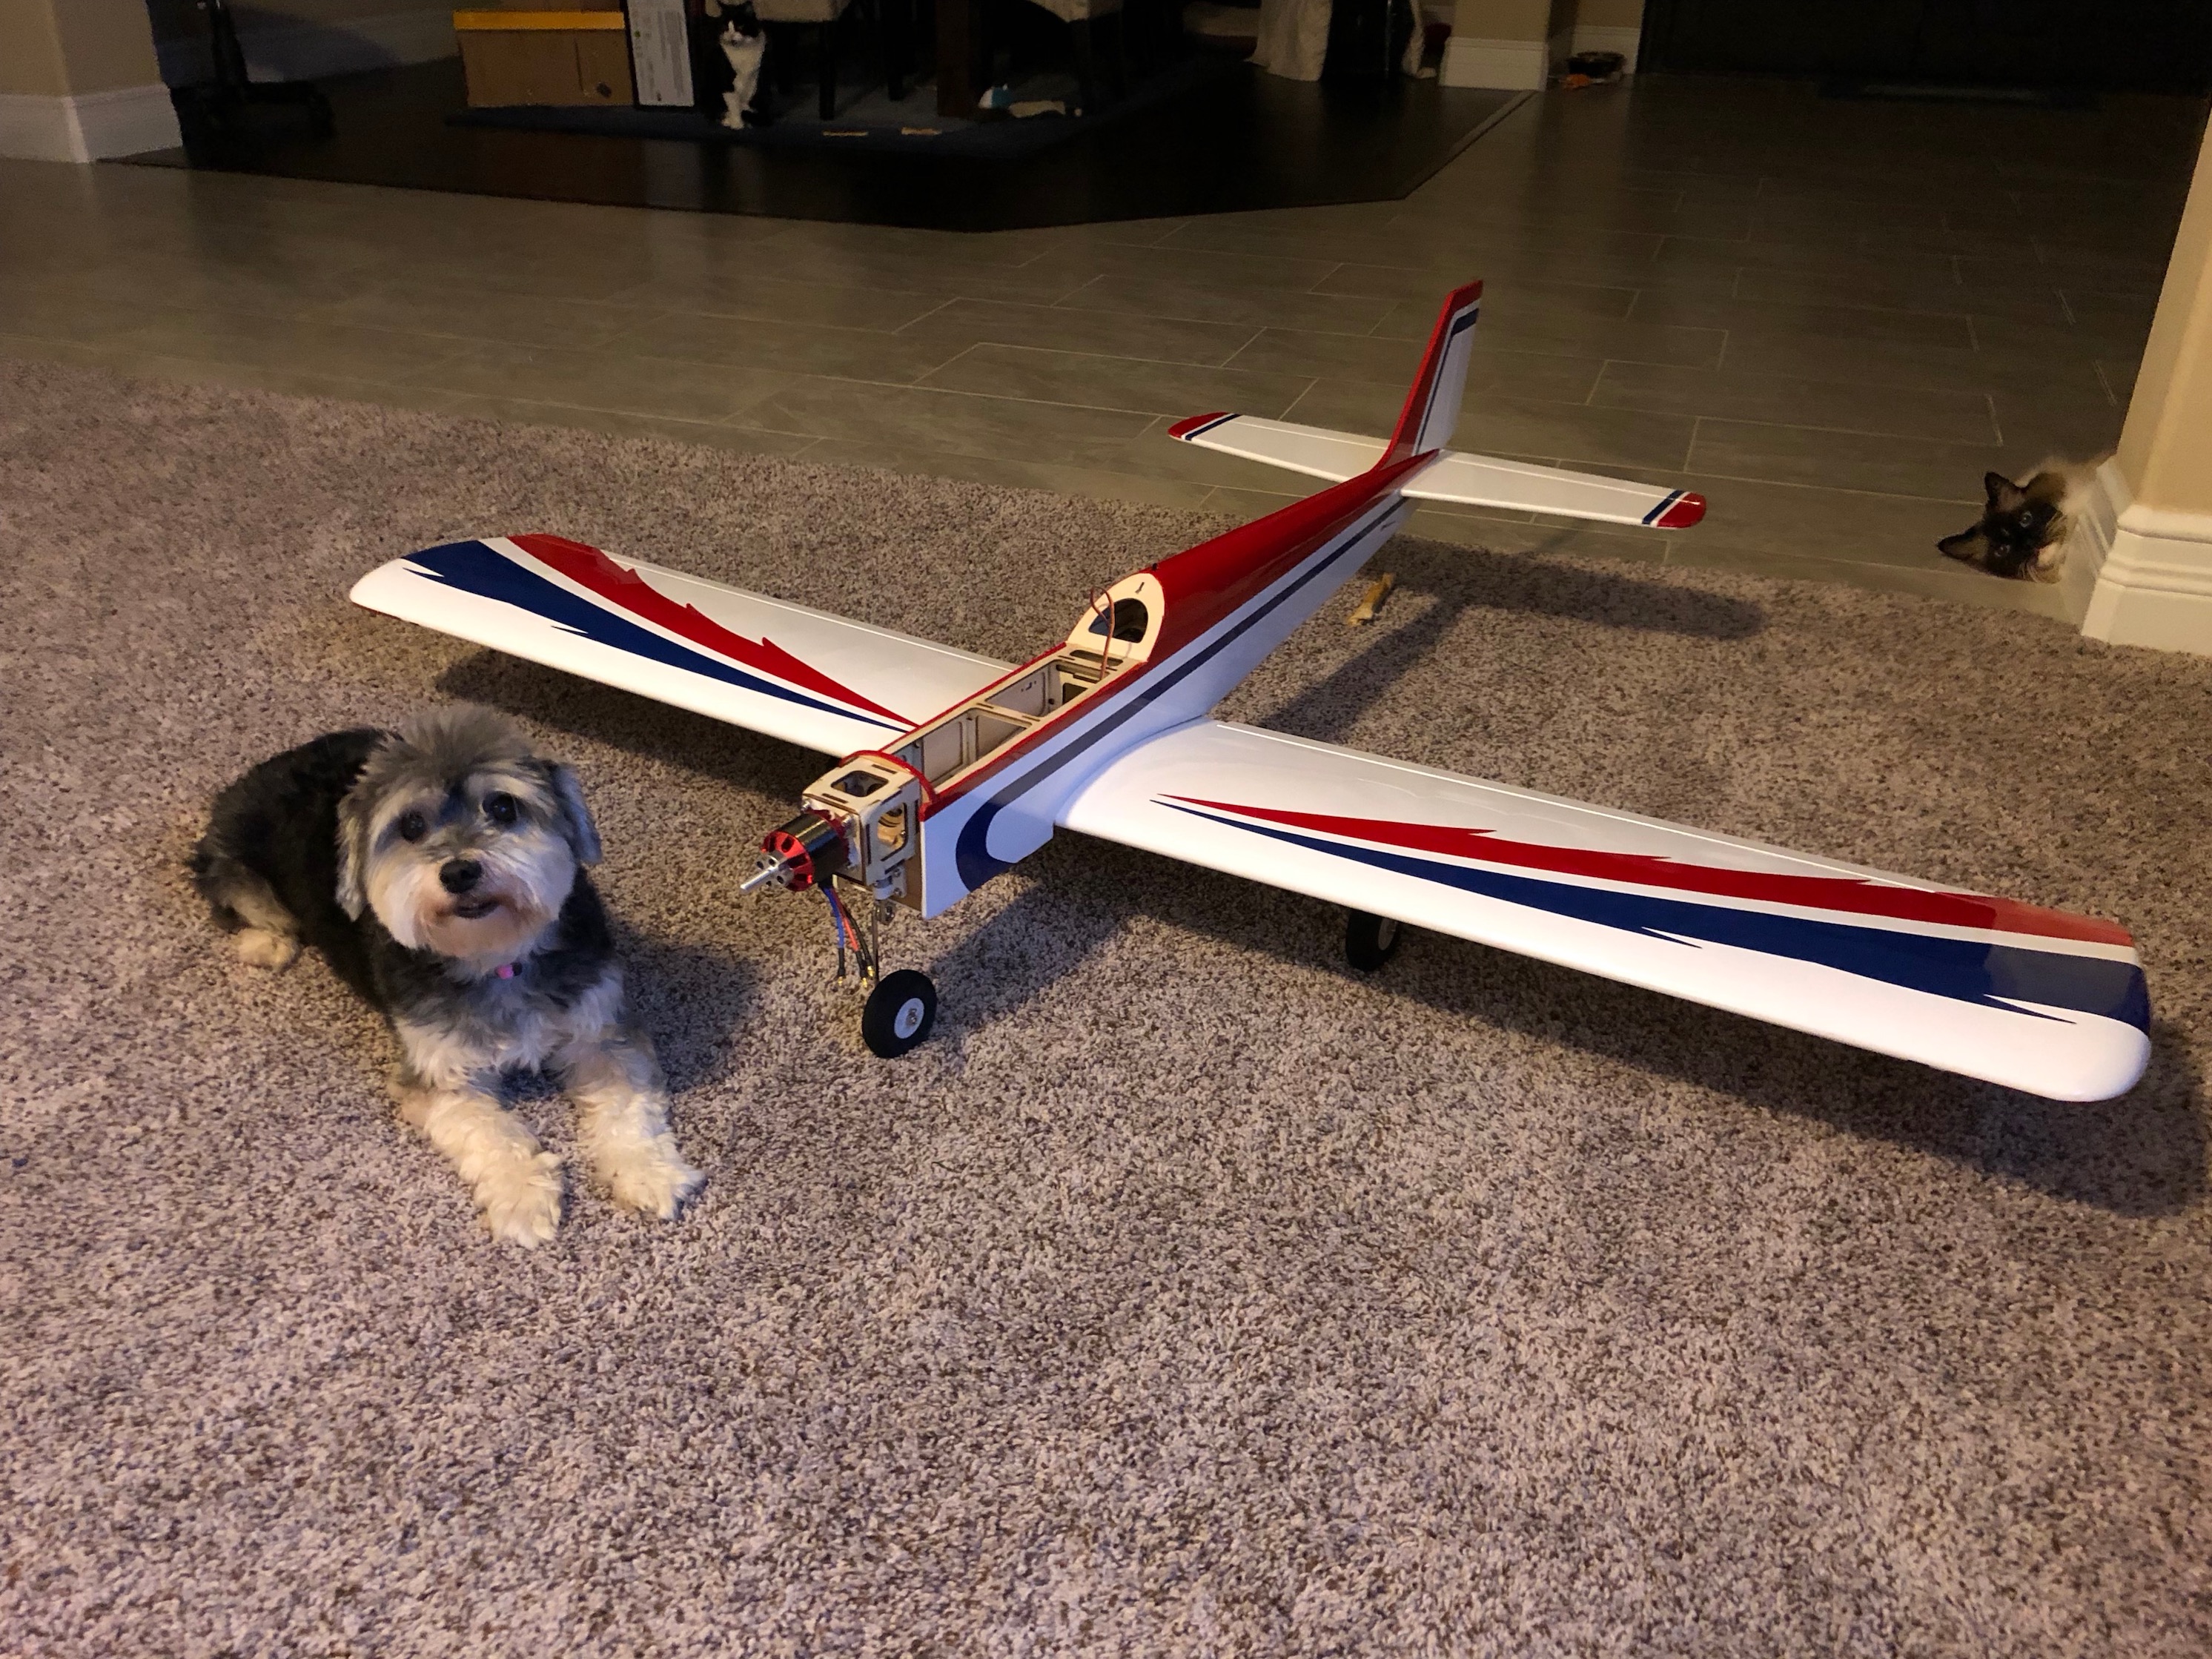
Here is a shot of the Tower Hobbies Sport on the ground next to our family dog to give you an idea of the wingspan. It is an impressive plane on the ground and in the air.
[Jazzy is a 12lb Havanese]
Buy Again Score – 5/5
I’d easily buy the Tower Hobbies Sport again. It’s hard to beat the combination of value, ease of assembly, attractiveness of design, and flight characteristics. It goes together easily with thoughtful touches like notched tail feathers, pre-hinged control surfaces, and simple robust landing gear that should easily take a lot of landings. I’ve built and flown at least 40 airplanes. This one ranks highly in that group of planes because it just works.
Overall Scores
Prebuild ------- 4.5/5
Ease of Build -- 5/5
Buy Again ------ 5/5
Average Score -- 4.83/5 (96%)
This plane gets great reviews on RCGroups.com too.
So this is the Plane and review that lead me to RC Video Reviews. I read an article in April 2017 Model Aviation about it. I thought Wow an inexpensive Low Wing, Tricycle gear airplane that’s a good flyer! I want it. Then I added up all the parts they used. Plane=$105.00. Rim Fire .32 motor= $90.00, Talon 90 amp ESC=$70.00, Servos (Futaba S9650) = $65 x 4=$260.00. That’s not CHEAP!
Then I find RC Video Reviews on YouTube! John gives great reviews and uses parts that I can afford. Since he has tested them for not only proper working order but also fit, I can purchase those parts and feel confident all will go well with the build and flights. I like the Listing of parts you used, but I wish you would have put the Model # of the servos you used.
Thanks man, Great Job!
Sorry I missed posting info about the servos. I used EMAX ES3001 Standard Servos. They can be found all over the web for about $7 each. I’ve used EMAX motors and servos for quite a while with good success. Tower is doing something goofy with servo cutouts though. They designed the aileron cutouts to fit their tactic servos; however, the aileron cutouts can be enlarged to accommodate standard servos and the design provides for support if you use the bigger servo. Good luck with the Sport, it’s a wonderful airplane.
Hey John, I now have my TOWER SPORT! I have not built it yet. I’m waiting on my Motor, Prop and Servos. I ordered the EMAX ES3001 servos you suggested from Banggood. They had a bundle of 6 servos for $35 w/FREE Shipping. Great Deal! I’m sure the 2 extra servos will get used down the road on something. In your SPORT build you used the GForce G32 4250-800KV motor, a 11X7 Prop and a 5S Battery. The Manual calls for a 4250-800KV Motor, a 13X8 Prop and 4S Battery. My question is, Why did you Prop down and Jump to the 5S Battery? Also, the specs on the GForce G32 says it’s rated for 3S and 4S. Did you have any issues on 5S? I’m looking at an AEOLIN C4250-800KV Motor I found on Ebay for $29 with $5 shipping. The Spec sheet says it is Rated to 5S and it has 1250Watts of Power. Before I jump on anything, I wanted to hear your thoughts. Thanks again and I look forward to reading your answers and opinions, Dave.
Volts x Amps = Watts. So by keeping watts constant (propping down) and increasing volts, I reduce…? If I reduce amps I fly longer. Make sense? Also, I had some 5s packs I use for balsa planes 50″ or higher so by shuffling my volts and props sizes around I can limit the different kinds of packs I need to stock. That doesn’t always work, but sometimes it works out fine. In this case it worked. Finally, I don’t pay much attention to volts on brushless motors but I pay attention to amp limits set by the manufacturer. Hope that helps.
Great explanation! I totally understand not wanting to purchase more batteries when you have others that will work. I will use that logic in he future when I need to. I don’t have any 5S batteries in my inventory so I’ll stick to their suggestions for now. I was thinking you were doing it for more speed and you might have seen a small increase. But longer flight time is a good benifit. Great Tip! You are a wealth of info. Thanks Man.